Understanding Drywall Basics
Drywall has become a staple in modern construction, renowned for its versatility and ease of use. This material not only serves functional purposes but also contributes significantly to the aesthetics of a space. Whether you're remodeling a room or constructing a new home, understanding the fundamentals of drywall is crucial to ensuring quality results.
What is Drywall?
Drywall, also known as gypsum board or plasterboard, is a panel made of gypsum plaster pressed between two thick sheets of paper. It is primarily used to construct interior walls and ceilings. The material is fire-resistant, soundproof, and easy to install, making it a popular choice among contractors and DIY enthusiasts alike.
Types of Drywall
Choosing the right type of drywall for your project is essential for achieving optimal results. Here’s a breakdown of the various types available:
- Regular Drywall: The standard option, best for non-specialized applications such as homes and offices.
- Moisture-Resistant Drywall: Ideal for areas prone to humidity, such as bathrooms and kitchens. It features a moisture-resistant core and a special paper covering.
- Fire-Resistant Drywall: Contains additives that offer increased fire resistance, making it suitable for garages and areas where additional fire protection is necessary.
- Soundproof Drywall: Designed to enhance sound insulation, it’s perfect for recording studios or home theaters.
- Greenboard and Blueboard: Specialized options for moisture management and finishing, respectively.
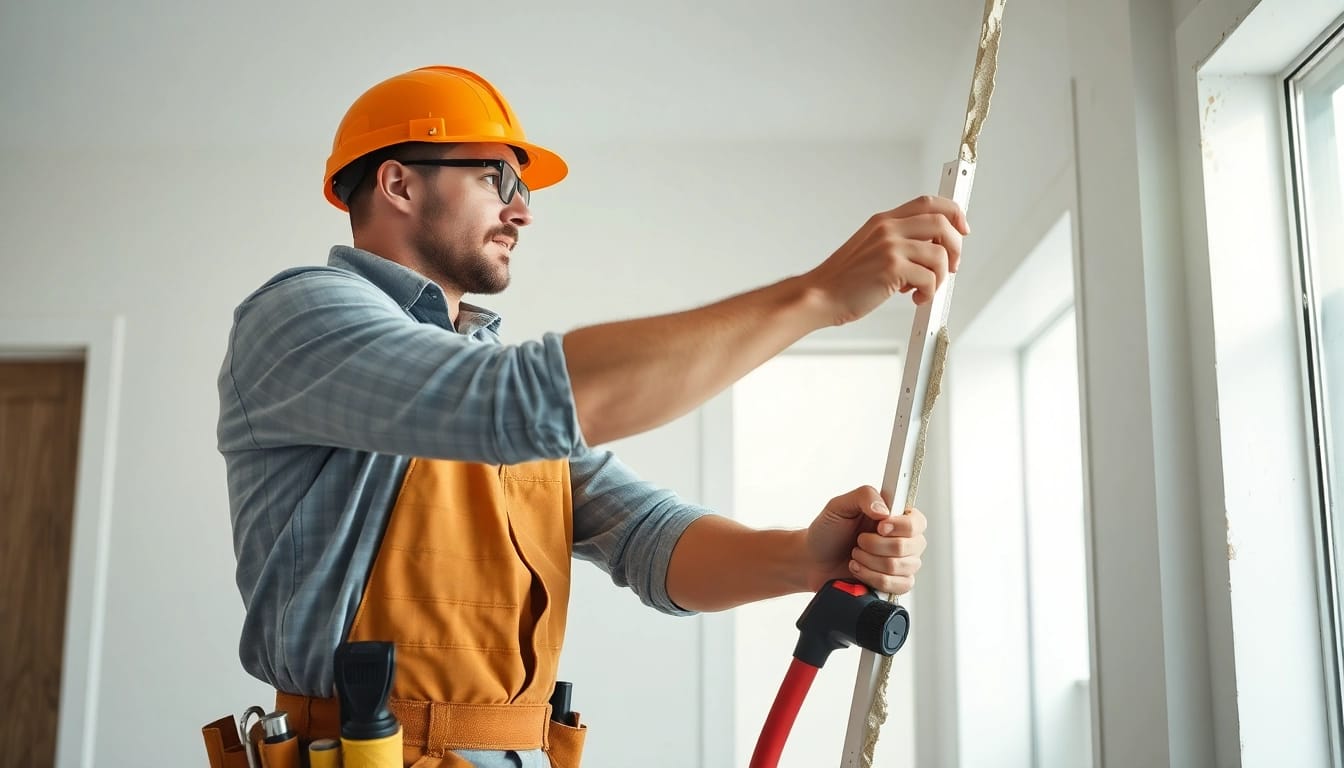
Tools Needed for Drywall Installation
For successful drywall installation, a comprehensive toolset is essential. The following tools will help streamline the process:
- Drywall T-Square: For measuring and cutting drywall accurately.
- Utility Knife: For scoring and cutting drywall sheets.
- Drywall Screw Gun: Designed for quickly fastening drywall to studs.
- Joint Knife: For applying and smoothing joint compound.
- Sanders: To achieve a smooth finish on your joints.
- Measuring Tape: Essential for obtaining accurate dimensions.
Preparing Your Space for Drywall
Preparation is key to a successful drywall installation. Ensuring that your workspace is ready will save you time and materials while maximizing durability and aesthetics.
Assessing the Area
Before hanging drywall, assess the area where it will be installed. Take note of any obstacles such as electrical outlets, windows, or doors that may require additional cuts or adjustments. Make sure that the framing is sturdy and all protruding nails or screws are either hammered in or removed.
Measuring and Cutting Drywall
Accurate measurements are essential. Use a measuring tape to determine the sizes of the drywall needed. To cut the drywall, score it with a utility knife along a straight edge, then snap it along the scored line. Make sure to wear proper safety gear to avoid injury from sharp edges.
Creating a Safe Work Environment
Ensure your work area is safe by removing any hazards, using appropriate safety gear such as goggles and masks, and work in well-ventilated areas. This minimizes dust and ensures you are protected from potential injury.
Drywall Installation Techniques
Effective installation techniques are fundamental for achieving a polished finish. Below, you'll find methodologies to ensure your drywall is hung and finished correctly.
Hanging Drywall Efficiently
Starting from the top and working down is generally the best strategy. Use drywall lifts for larger panels to prevent strain, and secure the drywall to the wall studs using drywall screws. Place the screws approximately 12 inches apart along the edges and 16 inches in the field, ensuring that they are slightly recessed into the board but not breaking the surface.
Techniques for Taping and Mudding
After the drywall is hung, apply fiberglass or paper tape to cover the seams. Using a joint knife, spread a thin layer of joint compound (mud) over the tape, feathering out the edges to create a smooth transition. Allow the mud to dry completely, then sand it gently for a seamless finish.
Finishing Touches for Smooth Surfaces
Once the compound is dry, sand the areas gently, gradually switching to finer grits to avoid scratching the surface. Clean the area of dust before you apply a second coat of joint compound if needed. Repeat until the surface is smooth and even, preparing it for primer and paint.
Troubleshooting Common Drywall Issues
Even with careful installation, issues may arise. Recognizing and addressing these problems early can save time and effort later.
Patching Holes and Cracks
For holes, a patch can be made by cutting a piece of drywall to fit, securing it with screws, and applying joint compound to mask the edges. For cracks, filling them with joint compound and smoothing it out typically suffices. Always ensure the surface is smooth and paintable once the repair is dried and sanded.
Dealing with Moisture Damage
If moisture damage is detected, determine the source of the moisture and repair it before replacing any drywall. For extensive damage, it may be necessary to remove and replace entire sections. Always opt for moisture-resistant drywall in affected areas to reduce future risks.
Identifying Structural Problems
Any bowing or misalignment of walls may indicate underlying structural issues. Inspect the framing, and check for signs of sagging or bending. Consider consulting with a professional if significant structural repairs are warranted.
Frequently Asked Questions about Drywall
What should I know before starting a drywall project?
Understand the types of drywall available, assess your space comprehensively, and gather necessary tools to ensure a smooth installation process.
How do I properly tape and mud drywall joints?
Apply tape over the joints, then spread a layer of joint compound over it. Feather the edges to blend with the surrounding drywall and sand once dry for a smooth finish.
Can drywall be painted immediately after installation?
It's best to wait until the joint compound is fully dried and sanded before applying paint to ensure a professional-looking finish.
What is the best way to patch a small hole in drywall?
Cut a patch, secure it in place, apply joint compound over it, and sand it smooth once dry. This ensures the repair blends with the surrounding area.
How do I prevent moisture damage in drywall?
Use moisture-resistant drywall in areas prone to dampness, maintain good ventilation, and repair any leaks promptly to minimize moisture exposure.


